Have you tried setting up WordPress manually on a local server? If so, you know how chaotic it is. That’s why developers prefer Docker. It keeps your system neat and clean while giving you the flexibility to spin up isolated environments quickly.
Here in this quick guide, we have shared a step-by-step procedure on how to set up Docker and WordPress in LAMP on Ubuntu.
Docker Installation on Ubuntu Step 1: Set up the apt repository # Add Docker’s official GPG key:
sudo apt-get install ca-certificates curl gnupg
📋
✓
sudo install -m 0755 -d /etc/apt/keyrings
📋
✓
curl -fsSL https://download.docker.com/linux/ubuntu/gpg \ | sudo gpg –dearmor -o /etc/apt/keyrings/docker.gpg
📋
✓
sudo chmod a+r /etc/apt/keyrings/docker.gpg
📋
✓
# Add the repository to Apt sources:
echo \
“deb [arch=$(dpkg –print-architecture) signed-by=/etc/apt/keyrings/docker.gpg] \
https://download.docker.com/linux/ubuntu jammy stable” \
📋
✓
sudo apt update
📋
✓
sudo apt install -y docker-ce docker-ce-cli containerd.io docker-buildx-plugin docker-compose-plugin
📋
✓
Tired of Server Setups Breaking Your Workflow, Let's Handle this - Kbizsoft Builds Reliable DevOps with Docker and CI/CD
Step 2: Run Docker Container with ubuntu image Instead of installing Apache, PHP, and MySQL directly on your host machine, you create a fresh Ubuntu container.
This command launches a container and keeps it running:
docker run -d –name myubuntu -p 8080:80 ubuntu:latest sleep infinity
📋
✓
docker run -d –name myubuntu -p 8080:80 -p 2222:22 -v myvolume:/var/www/html ubuntu:latest sleep infinity
📋
✓
Enter inside the container with the help of this command
docker exec -it myubuntu bash
📋
✓
Step 3: Install lamp-server inside the Container Once inside, update your container packages and install the entire LAMP stack with one command:
apt update
📋
✓
apt install lamp-server^ -y (php+apache2+mysql)
📋
✓
This gives you Apache, PHP, and MySQL.
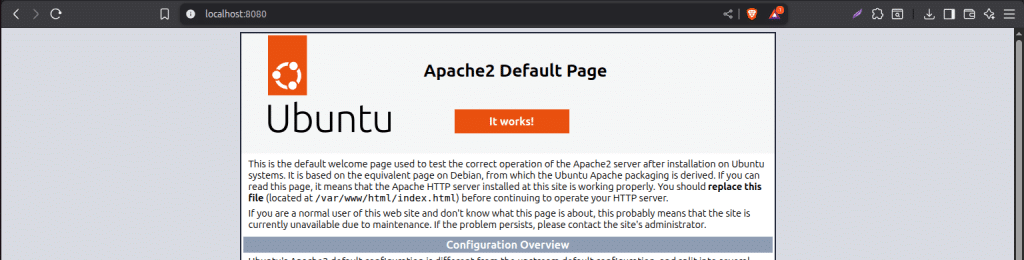
Start Apache2 service and test url on localhost
If You're Struggling with PHP/Apache Version Mismatches or Database Errors? Don't Worry Kbizsoft sets up a reliable, optimised LAMP stack.
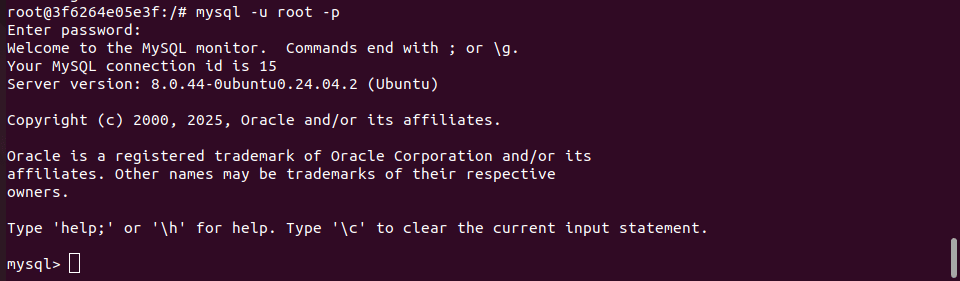
Step 4: Set MySQL Password Use this command:
service mysql start
service mysql status
mysql -u root -p
📋
✓
service mysql status
📋
✓
mysql -u root -p
📋
✓
ALTER USER ‘root’@’localhost’ IDENTIFIED WITH mysql_native_password BY ‘Linux@7988’;
📋
✓
FLUSH PRIVILEGES;
📋
✓
Exit
📋
✓
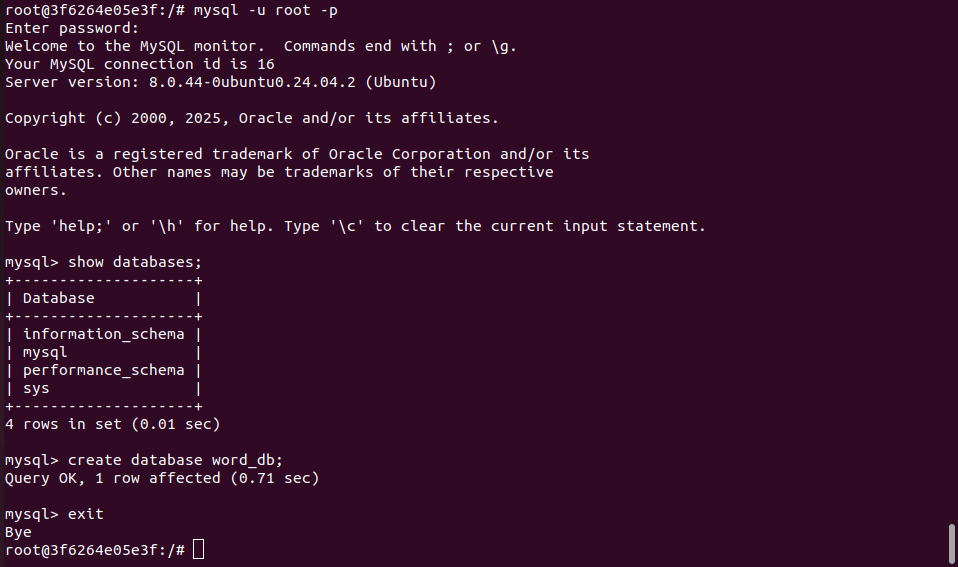
Step 5: Create a Database inside the Container Use this command:
mysql -u root -p (enter password)
📋
✓
show databases;
📋
✓
create database word_db;
📋
✓
exit
📋
✓
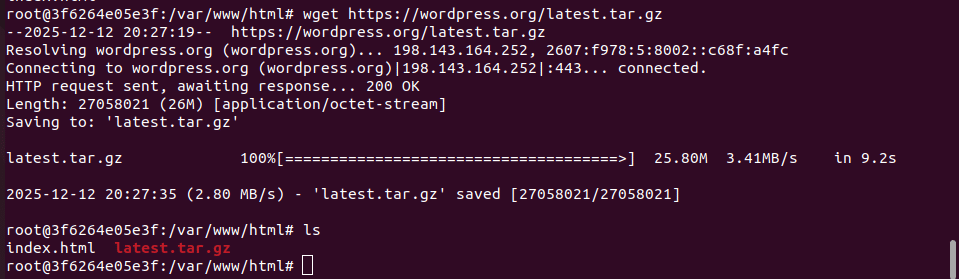
Step 6: Installing WordPress inside the Container
cd /var/www/html
📋
✓
apt install wget -y (install wget)
📋
✓
wget https://wordpress.org/latest.tar.gz
📋
✓
tar -xvzf http://latest.tar.gz
📋
✓
chown -R www-data:www-data /var/www/html/wordpress
📋
✓
chmod -R 755 /var/www/html/wordpress
rm index.html
📋
✓
rm index.html
📋
✓
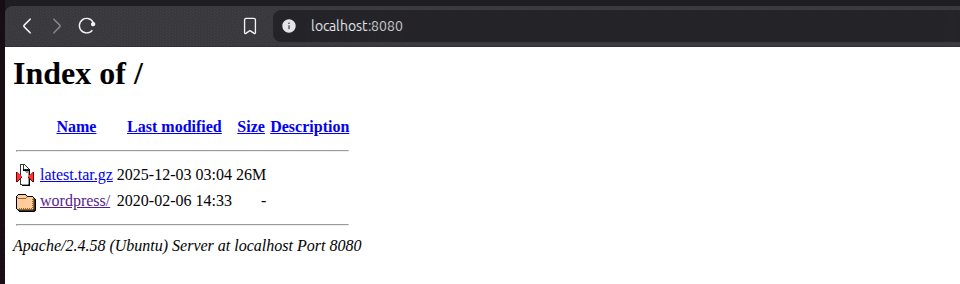
Access the WordPress localhost with this url
http://localhost:8080
📋
✓
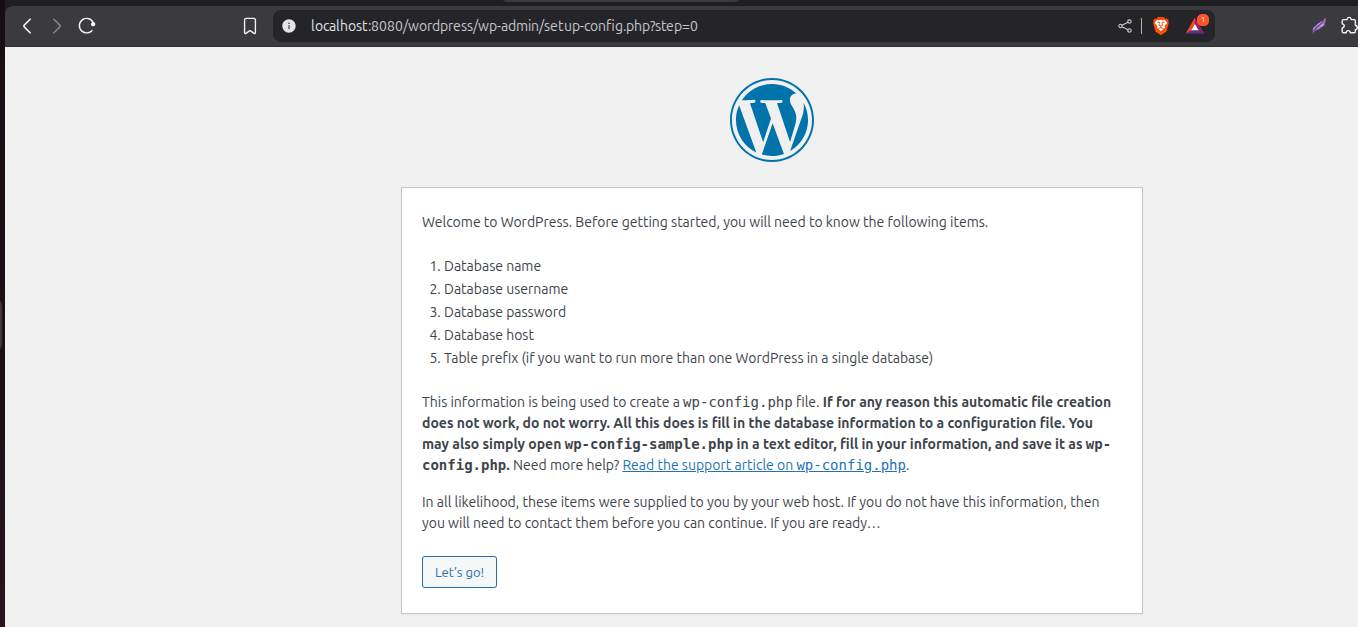
Click on the WordPress folder and show this
Click Let’s go
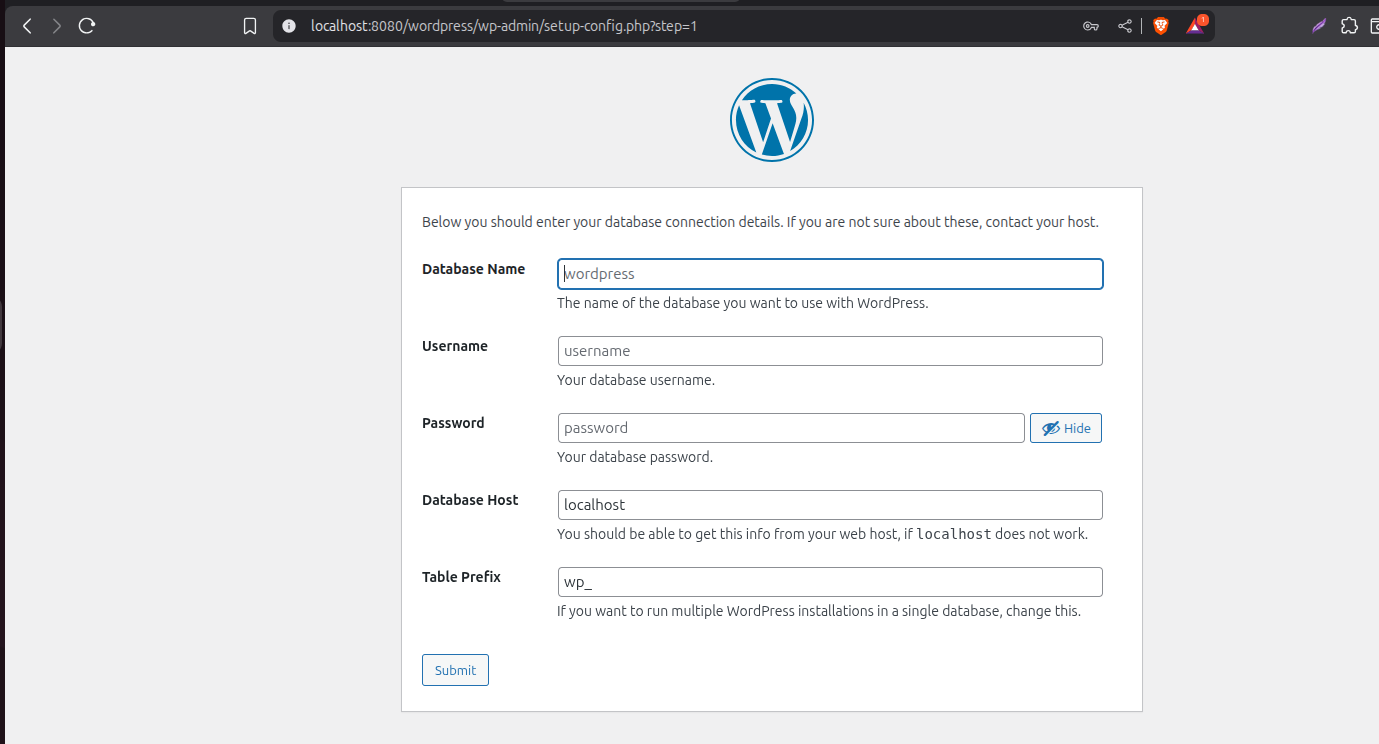
Click submit
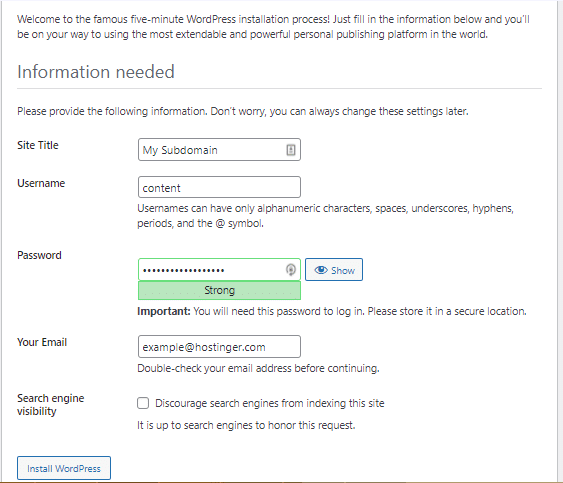
Now, fill in the required website and admin information. Then click on Install WordPress.
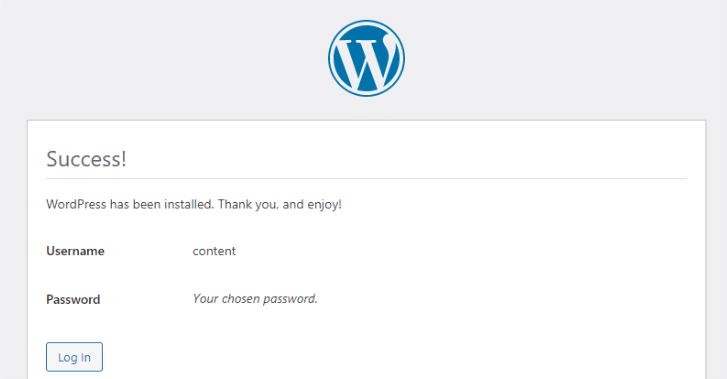
Once the installation is finished, you will be notified that WordPress has been installed. Click Log In to access the admin dashboard and begin customizing your WordPress site.
WordPress Access Url is = http://localhost:8080/wordpress
If your business depends on WordPress but your servers keep slowing down, crashing, or misbehaving. Kbizsoft can help.